
Android
Wi-Fi network setup
- Open the Settings on your Android device.
- Click on Wi-Fi.
- Tap and hold your Wi-Fi network name or click on the information icon next to it.
- Scroll to or click on Advanced Settings.
- Click on Proxy > Manual.
- Change your proxy settings. Enter the hostname and the proxy port (e.g.
us.smartproxy.com:10101). You can find the full list in your dashboard. - Click Save or just exit out of the phone settings.
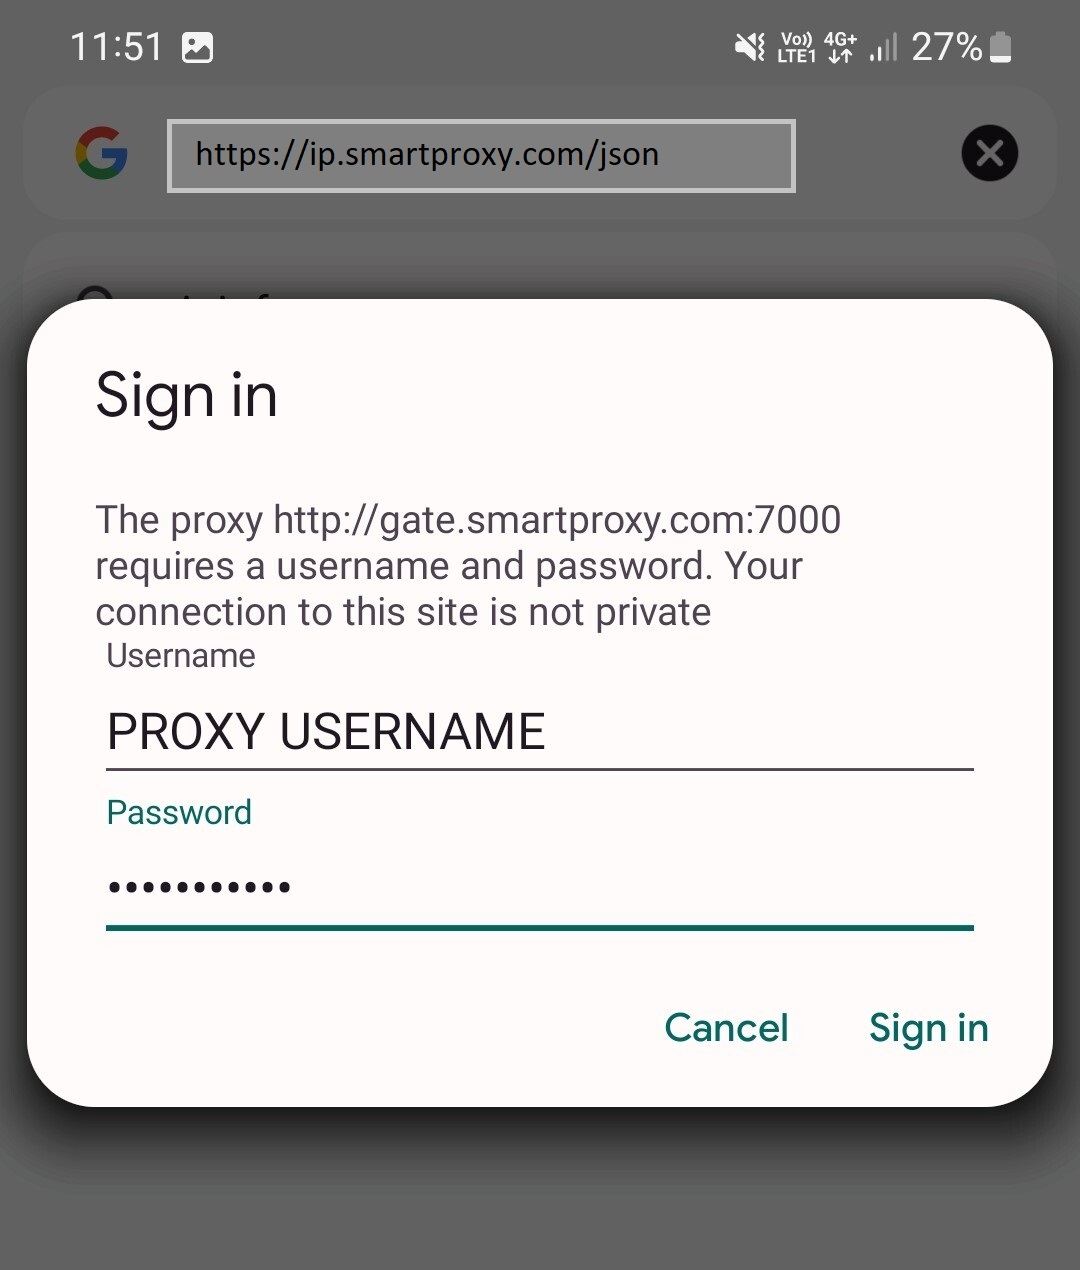
- To see if the proxy is working, check your IP address on https://ip.smartproxy.com/json.
- If you do not have a whitelisted IP you will get asked for a username and password for your proxy when trying to open a website, in such case simply enter the credentials and click Sign in
Note, that this set-up will only work on browsers. Phone applications will not work with the proxy.
The following video displays the same instructions described above. However, the dashboard and thus the instructions in the video might be outdated.
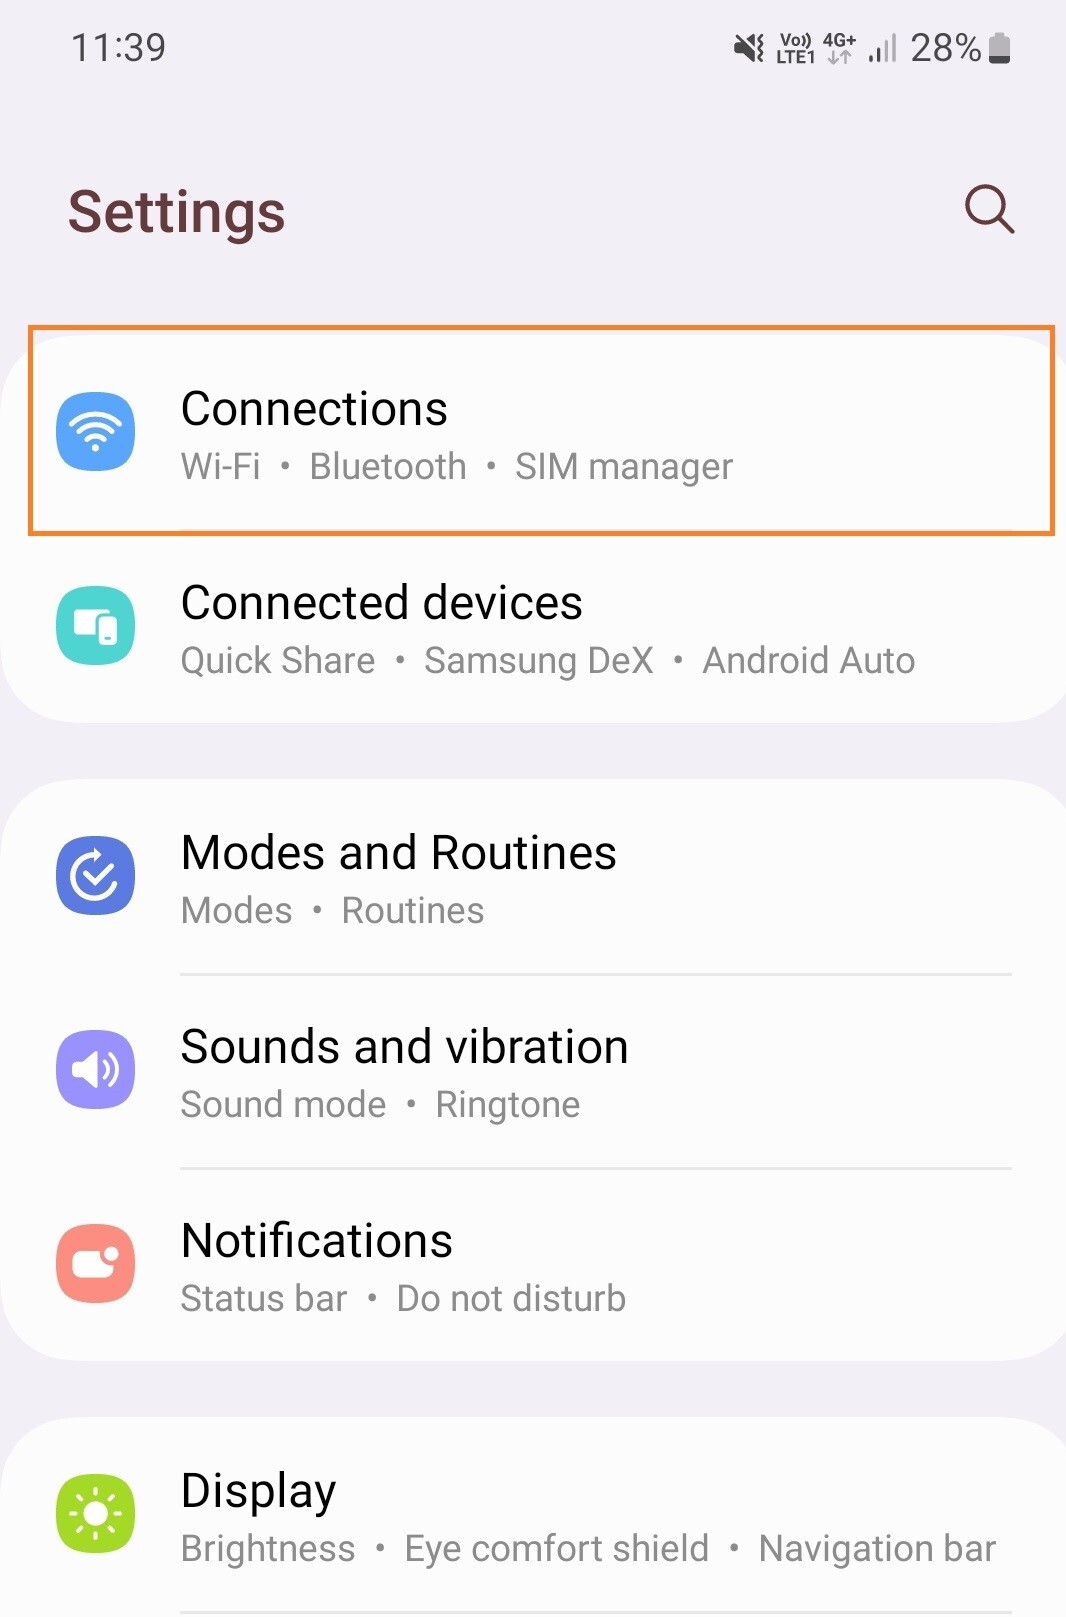
Mobile network setup
Note that the names of settings in the following guide will differ depending on your Android version. The point is to open APN settings of your mobile network
The guide below is for residential or mobile proxies, for other proxy types simply adjust the endpoint and port used. You can see them in Smartproxy dashboard > Proxy type > Proxy setup > Endpoint generator
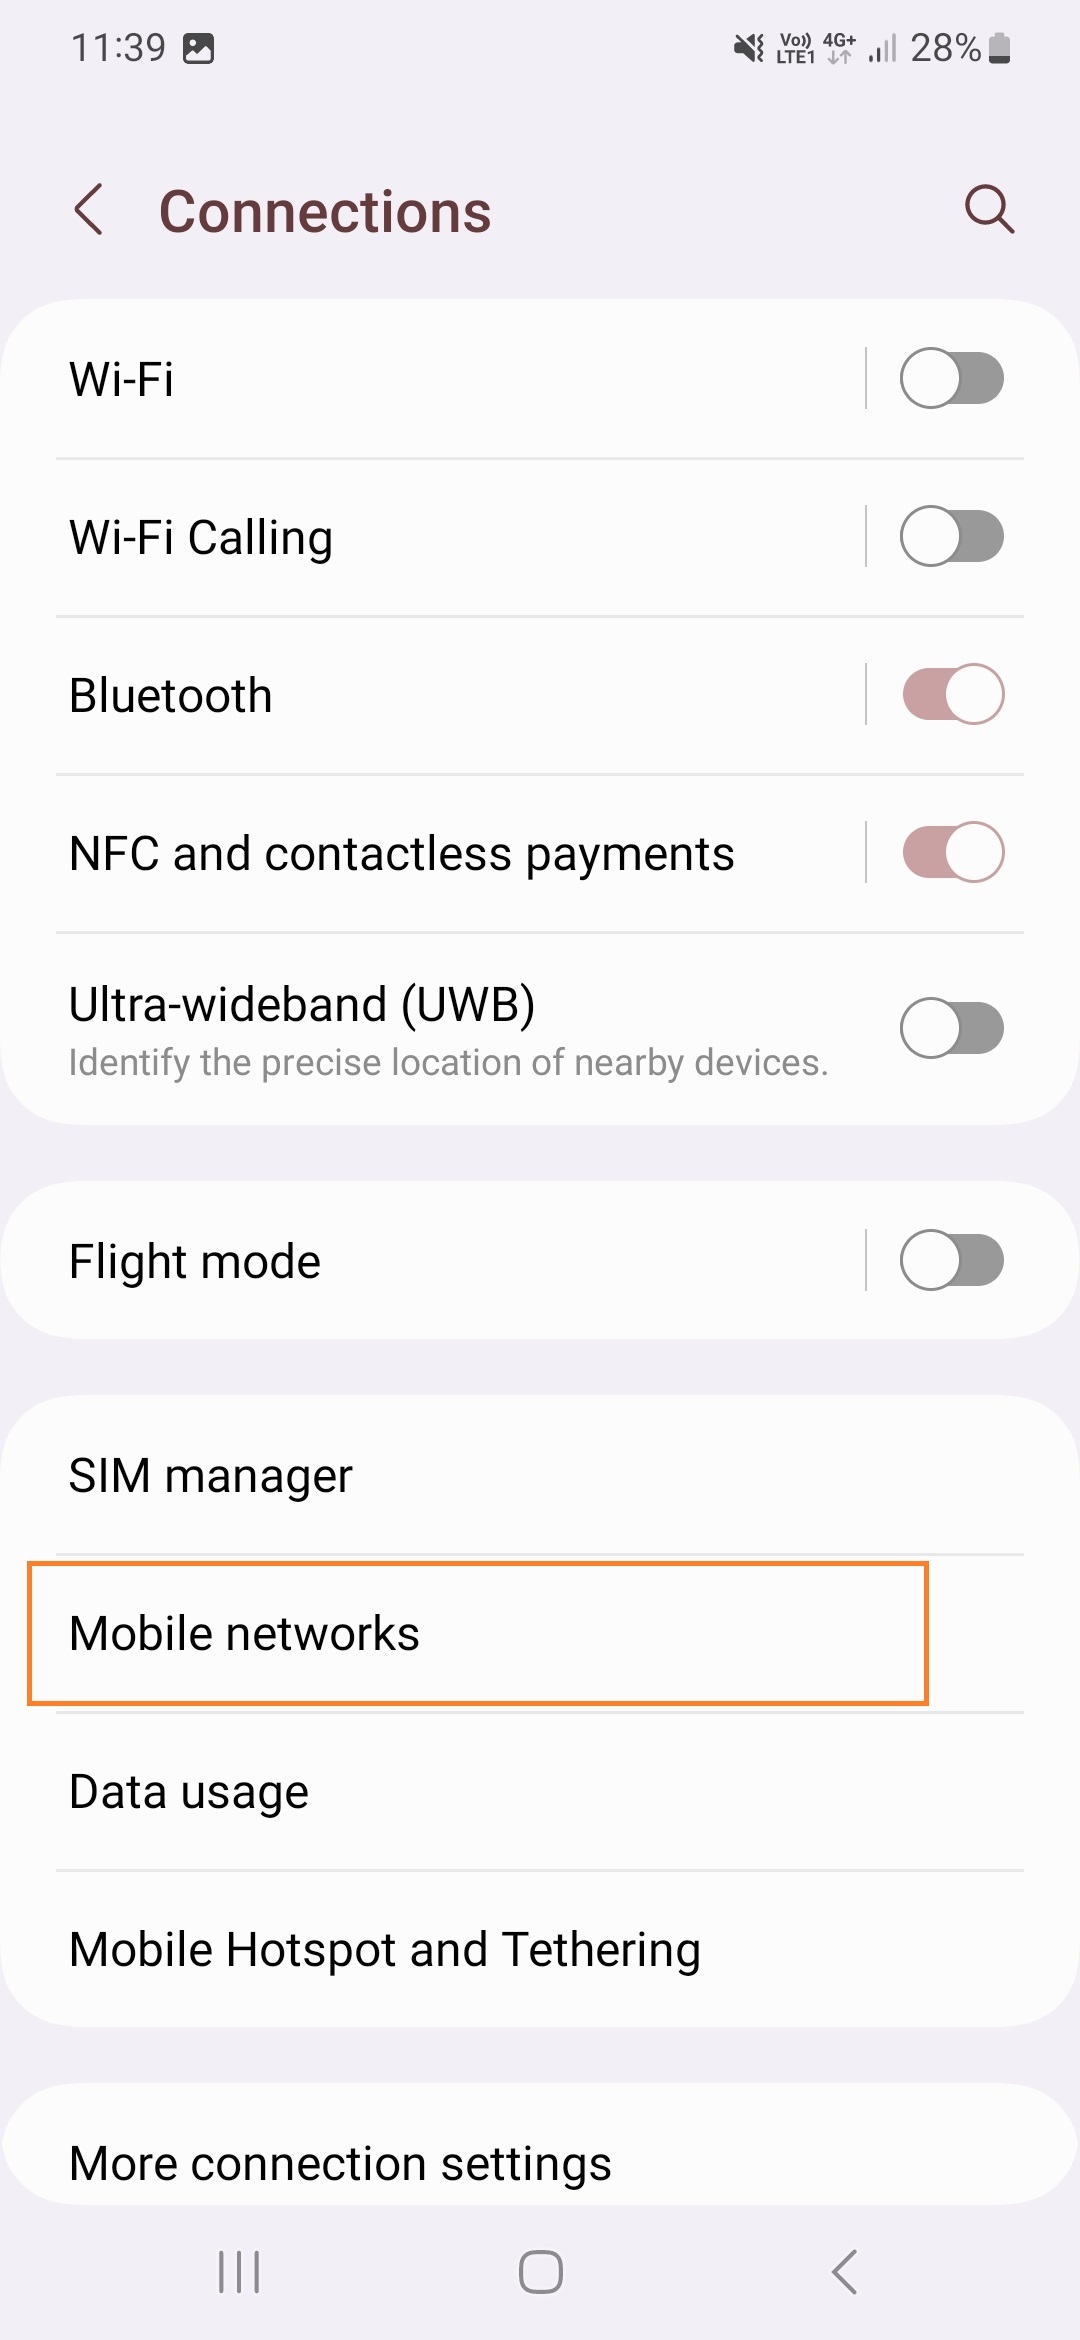
- Open your Android Settings > Wi-Fi & Network/Connections.
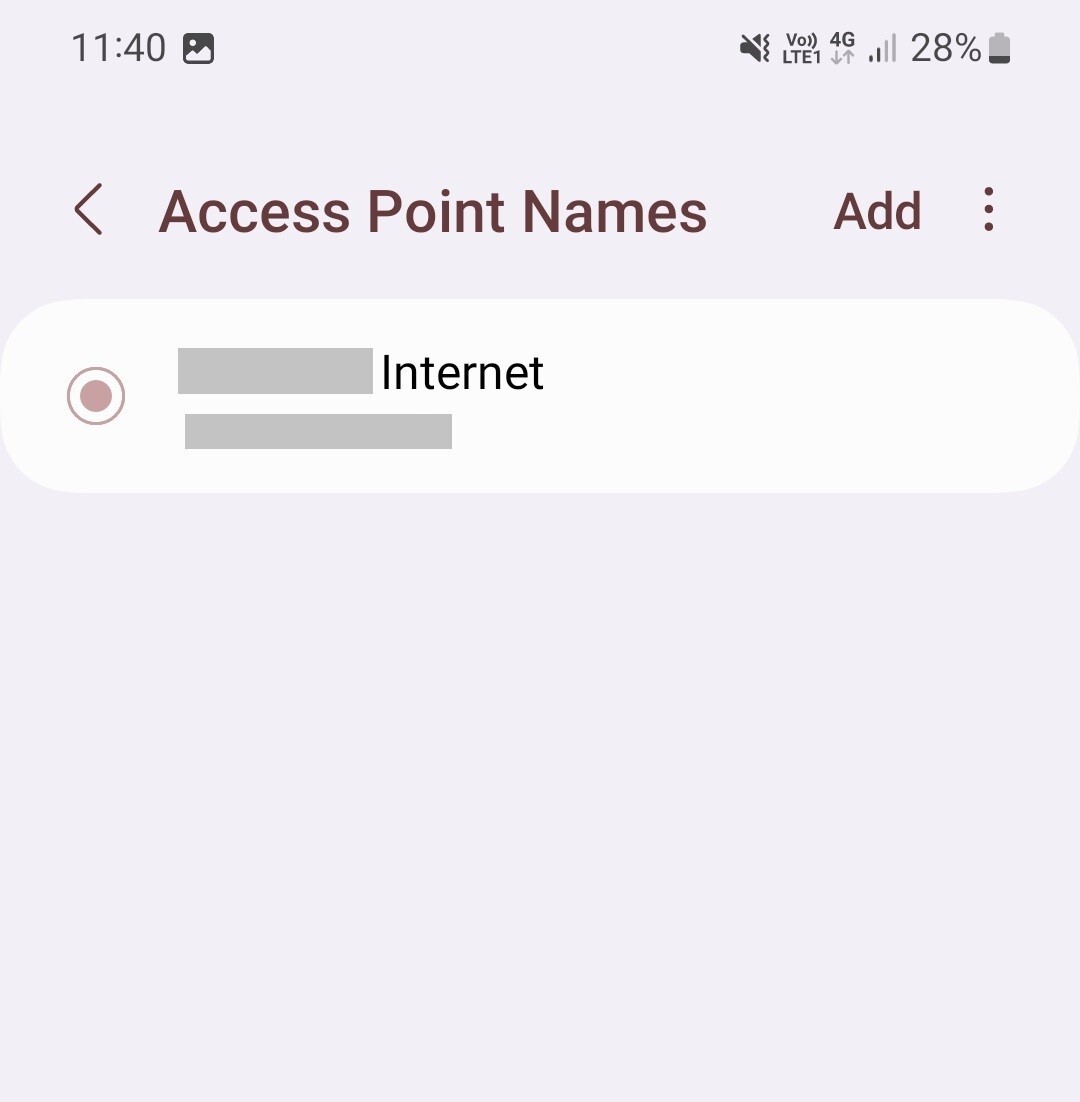
- Tap on Mobile Networks > Access Point Names > Click on your active APN to open the settings.
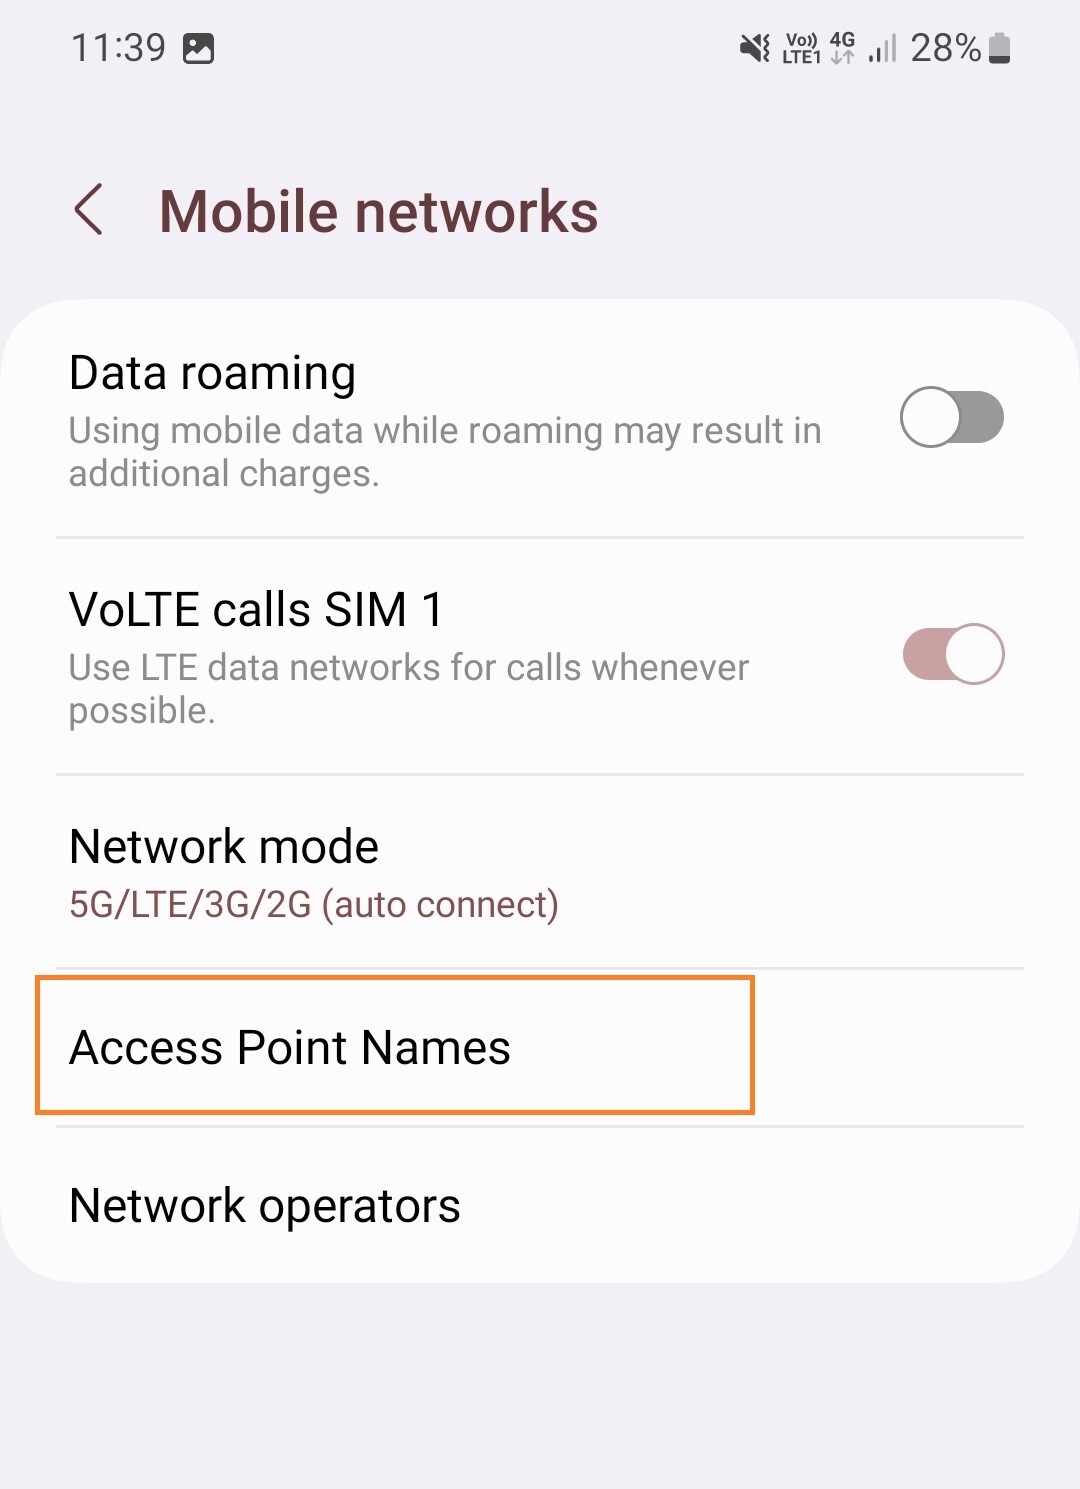
- Fill in these fields:
- Proxy - gate.smartproxy.com
- Port - 7000
- Username & Password fields - your proxy credentials from the Smartproxy dashboard > Residential > Proxy setup > Authentication method.

- Tap three vertical dots in the top right corner and choose Save.

- Restart the network to apply your changes by turning the connection off and on again.
- Open your web browser, enter previously specified credentials, and press Sign in.
Updated 2 months ago